How to Design Rain Garden from Photo: The Visual Approach
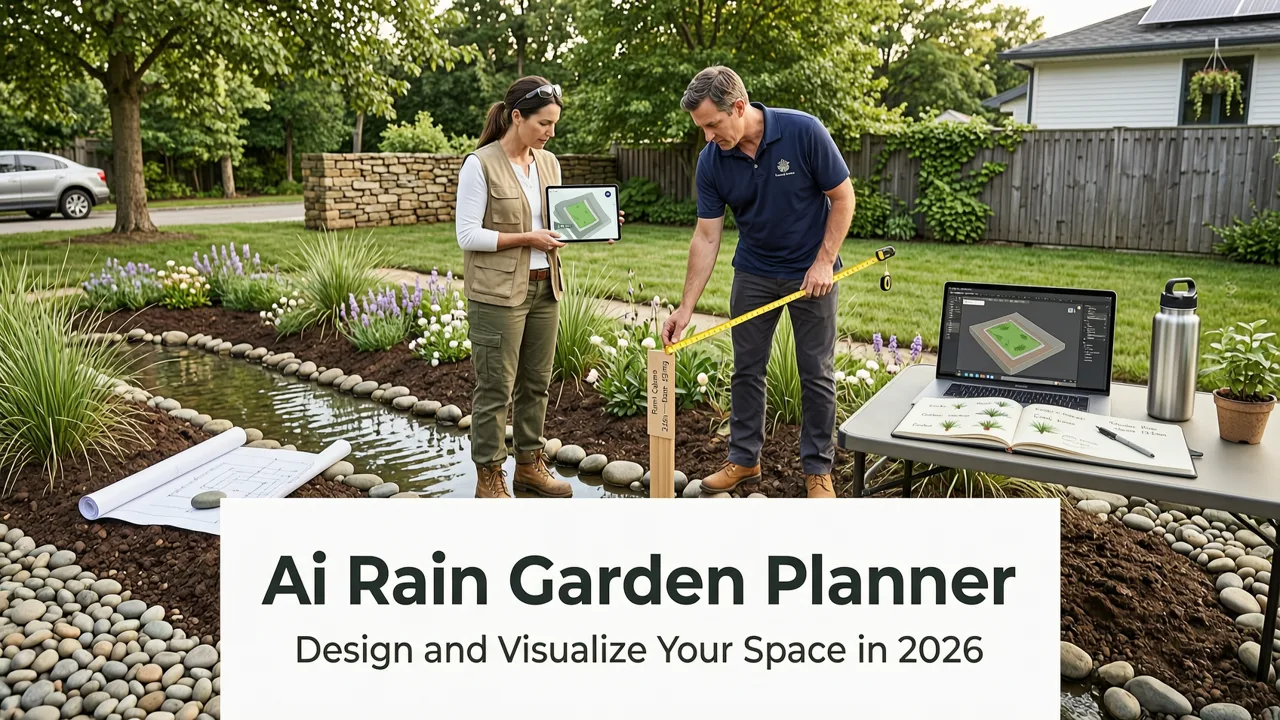
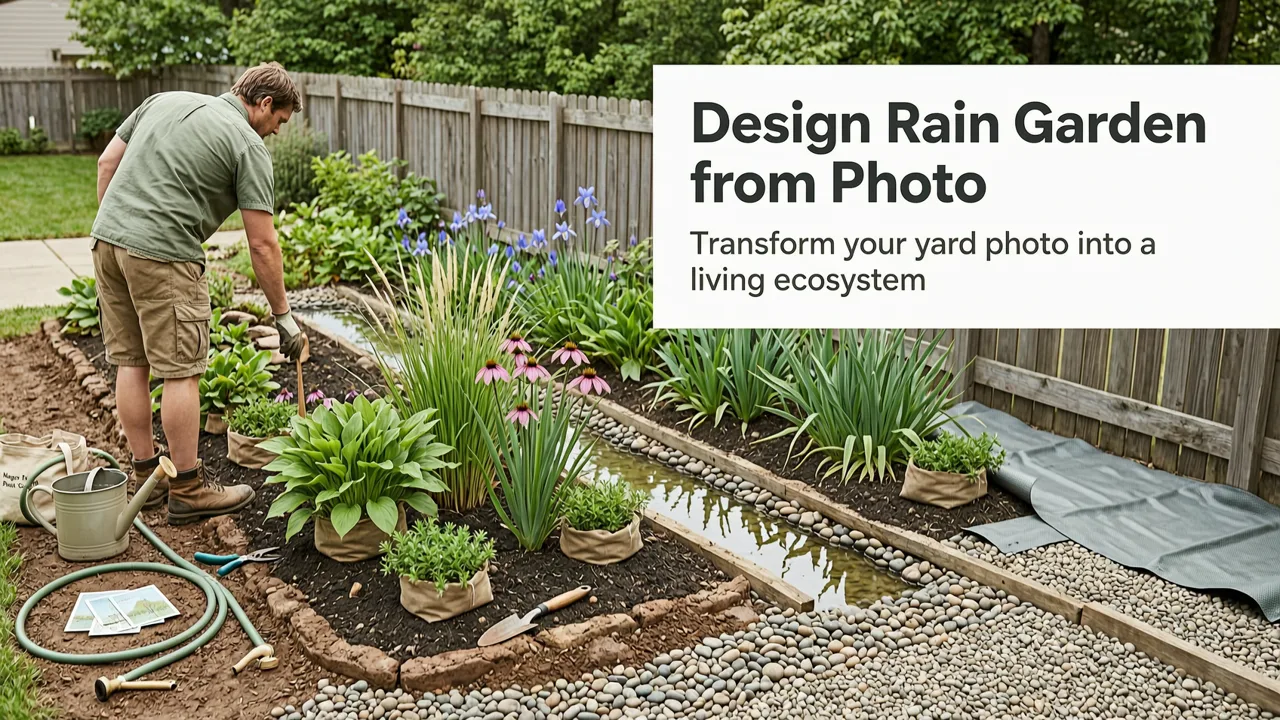
Transforming a soggy, poorly draining yard into a thriving ecosystem begins with a clear vision. If you want to design rain garden from photo, the most effective approach in 2026 combines traditional landscaping principles with advanced AI visualization. By capturing a simple image of your outdoor space, you can instantly preview native plants, grading changes, and permeable layouts before breaking ground. This guide explains exactly how to plan, visualize, and execute a functional rain garden using your existing yard photo.
A rain garden is not just a decorative feature; it is a functional landscape element designed to capture and absorb stormwater runoff from roofs, driveways, and lawns. Designing one requires careful consideration of soil composition, water flow, and plant selection. Historically, homeowners had to rely on imagination or expensive 3D modeling software to see how these elements would look together. Today, artificial intelligence bridges the gap between planning and reality.
Why You Should Visualize Your Rain Garden Before Digging
Landscaping mistakes are costly and difficult to reverse. Moving established shrubs, regrading soil, or replacing dead plants wastes time and money. Visualizing your design first ensures that the final result meets both your aesthetic goals and your drainage needs.
Solve Your Drainage Problem by Planting A Rain Garden! - The BEST Plants to Absorb Excess Moisture!
by Bountiful Gardens
Avoid Costly Landscaping Mistakes
When you design rain garden from photo, you can test multiple layouts without moving a single shovel of dirt. You might discover that a proposed plant bed blocks a natural walkway or that a specific shrub overwhelms the scale of your home. AI visualization allows you to iterate on these designs instantly, ensuring the final layout is both beautiful and practical.
Ensure Proper Water Flow and Grading
A successful rain garden must capture water effectively. By overlaying design elements onto your actual yard photo, you can better understand how the proposed berms and swales will interact with the existing topography. This visual context helps you position the garden in the lowest natural point of your yard, which is critical for its functionality.
Harmonize with Your Existing Architecture
Your exterior landscape should complement your home's architectural style. Just as homeowners use tools for White Wall Paint AI Visualization: Instant Room Preview in 2026 to test interior colors, you can apply the same visual technology to your exterior landscape. Whether you are exploring 25 Accent Wall Paint Ideas for 2026 (AI-Visualized) for your living room or mapping out exterior garden beds, AI ensures your aesthetic choices harmonize with the existing architecture.
Step-by-Step Guide to Planning Your Rain Garden
Creating a functional and beautiful rain garden requires a methodical approach. Follow these steps to prepare your site and generate an accurate visual design.
Step 1: Assess Your Yard's Drainage and Sunlight
Before taking a photo, observe your yard during a heavy rainstorm. Identify where water naturally pools and where it flows off your property. A rain garden should be located at least 10 feet away from your home's foundation to prevent water damage. Additionally, note how much sunlight the area receives throughout the day, as this will dictate your plant selection.
Step 2: Capture the Perfect Yard Photo
To get the best results from an AI design tool, you need a high-quality reference image. Stand at the edge of the proposed garden area and take a photo straight across, ensuring the entire space is in the frame. Shoot on a clear day with even lighting to avoid harsh shadows that might confuse the AI. If the area is large, take multiple overlapping photos to capture the full scope of the project.
Step 3: Define the Shape and Size
A rain garden should be roughly twice as long as it is wide to allow water to spread out and infiltrate slowly. The depth typically ranges from 4 to 8 inches in the center, sloping gently to the edges. When using an AI tool to design rain garden from photo, you can input these dimensions or let the AI suggest optimal proportions based on the scale of your yard.
Step 4: Prepare the Soil Conceptually
Rain gardens require well-draining soil to prevent water from stagnating. If your yard has heavy clay, you will need to amend the soil with compost and sand. While AI cannot test your soil, visualizing the amended soil profile alongside your plant choices helps you plan the physical preparation required before planting day.
How AI Visualization Transforms Landscape Design
The integration of artificial intelligence into home design has revolutionized how we plan exterior spaces. Modern spatial AI relies on complex vision models, as detailed in the OpenAI documentation, to accurately interpret depth, lighting, and spatial boundaries from a flat 2D image.
Understanding the AI Rendering Process
When you upload your yard photo to an AI design platform, the system analyzes the image to identify existing structures, sightlines, and perspective. It then uses generative algorithms to overlay new elements—such as native grasses, permeable paving, and decorative boulders—while maintaining the correct scale and lighting. This ensures that the rendered rain garden looks like a natural extension of your existing property.
Benefits of AI-Driven Environmental Planning
Following established Google AI guidance on responsible technology use ensures that the environmental recommendations generated by your tools are both sustainable and ecologically sound. AI platforms can suggest plant species that are native to your specific hardiness zone, promoting local biodiversity and reducing the need for chemical fertilizers.
Rain Garden Plant Selection Guide for 2026
Choosing the right plants is the most critical step in designing a rain garden. The plants must tolerate both temporary flooding and extended dry periods. The following table provides a comprehensive guide to selecting species that thrive in these fluctuating conditions.
| Plant Category | Example Species | Moisture Tolerance | Sunlight Needs | Root Depth | Maintenance Level |
|---|---|---|---|---|---|
| Deep-Rooted Perennials | Swamp Milkweed, Blue Lobelia | High (tolerates standing water) | Full Sun to Part Shade | Deep (up to 4 feet) | Low |
| Moisture-Loving Shrubs | Red Osier Dogwood, Buttonbush | Very High (thrives in wet soil) | Full Sun | Medium (2 to 3 feet) | Medium (requires pruning) |
| Ornamental Grasses | Switchgrass, Tussock Sedge | Medium to High | Full Sun | Deep and fibrous | Low |
| Groundcovers | Creeping Phlox, Wild Ginger | Medium (prefers moist but well-drained) | Part Shade to Full Shade | Shallow (under 1 foot) | Low |
Layering Your Plant Design
When visualizing your plant layout, aim for a natural, clustered look rather than rigid rows. Place taller shrubs and grasses in the center or background of the garden, and use shorter perennials and groundcovers along the edges. This layered approach not only looks more aesthetically pleasing but also creates a diverse habitat for local pollinators and beneficial insects.
Common Mistakes to Avoid When Designing a Rain Garden
Even with the best planning tools, certain pitfalls can compromise the functionality of your rain garden. Avoid these common errors to ensure long-term success.
- Placing it too close to the foundation: Always maintain a minimum distance of 10 feet from your home to prevent water from seeping into the basement or crawlspace.
- Using non-native plants: Exotic species often require more water, fertilizer, and pest control. Native plants are adapted to your local climate and will establish deeper root systems.
- Ignoring the soil composition: If you do not amend heavy clay soil, the water will pool on the surface and create a mosquito breeding ground rather than infiltrating the ground.
- Over-mulching: A thick layer of mulch can float away during heavy rains. Use a thin layer of shredded hardwood mulch or consider using river rock in high-flow areas.
Maintaining Your Visualized Design
Once your rain garden is installed, it requires minimal maintenance compared to a traditional lawn. During the first two years, water the plants regularly to help them establish deep root systems. After that, the garden should be largely self-sustaining, requiring only occasional weeding and the removal of dead plant material in early spring.
Bringing Your Outdoor Vision to Life
Designing a rain garden is a highly rewarding project that improves your property's drainage, supports local ecology, and enhances your curb appeal. By starting with a simple photo and leveraging modern AI visualization, you can eliminate the guesswork and create a landscape design that is both beautiful and highly functional.
Ready to see your outdoor space transformed? Upload your yard photo to AI Interior Design to visualize your new rain garden in seconds. You can also explore our comprehensive guides on interior visualization to ensure your entire property, from the living room to the backyard, reflects your perfect aesthetic vision.