Why an AI Textured Wall Preview Tool Changes How You Renovate in 2026
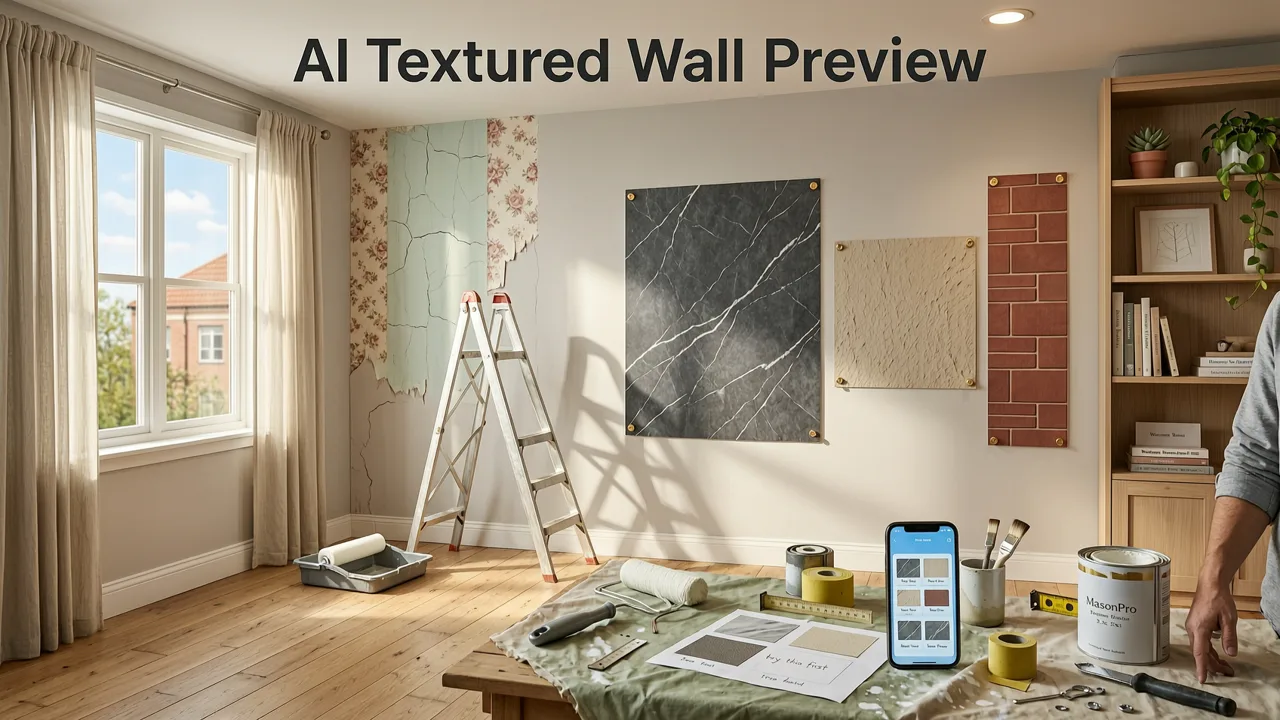
If you have ever spent hours flipping through paint swatches only to discover that the warm sandstone finish you loved in the store looks like wet cardboard on your living room wall, you already understand why homeowners and designers in 2026 are turning to an AI textured wall preview tool before committing to a single bucket of paint. The short answer is simple: upload a photo of your room, choose a wall texture or finish, and see a photorealistic preview in seconds — no designer consultation, no 3D software, no guesswork.
An AI textured wall preview tool uses generative vision models to analyze the geometry, lighting, and existing surfaces in your photo, then maps a new texture onto those surfaces with accurate shadows, reflections, and depth. The result is a true-to-room visualization that lets you compare Venetian plaster, limewash, microcement, stucco, wood paneling, and dozens of other finishes side by side, all before you spend a dollar on materials.
Whether you are a homeowner planning a weekend refresh, a renter testing a bold accent wall, a realtor staging a listing, or an interior designer presenting options to a client, this guide explains exactly how the tool works, which textures perform best in different rooms, and how to get the most accurate preview possible.
Creating DYNAMIC TEXTURES with SIMPLE Tools | Textured Wall Art (530)
by Shannon Gibson Art & Designs
What an AI Textured Wall Preview Tool Actually Does
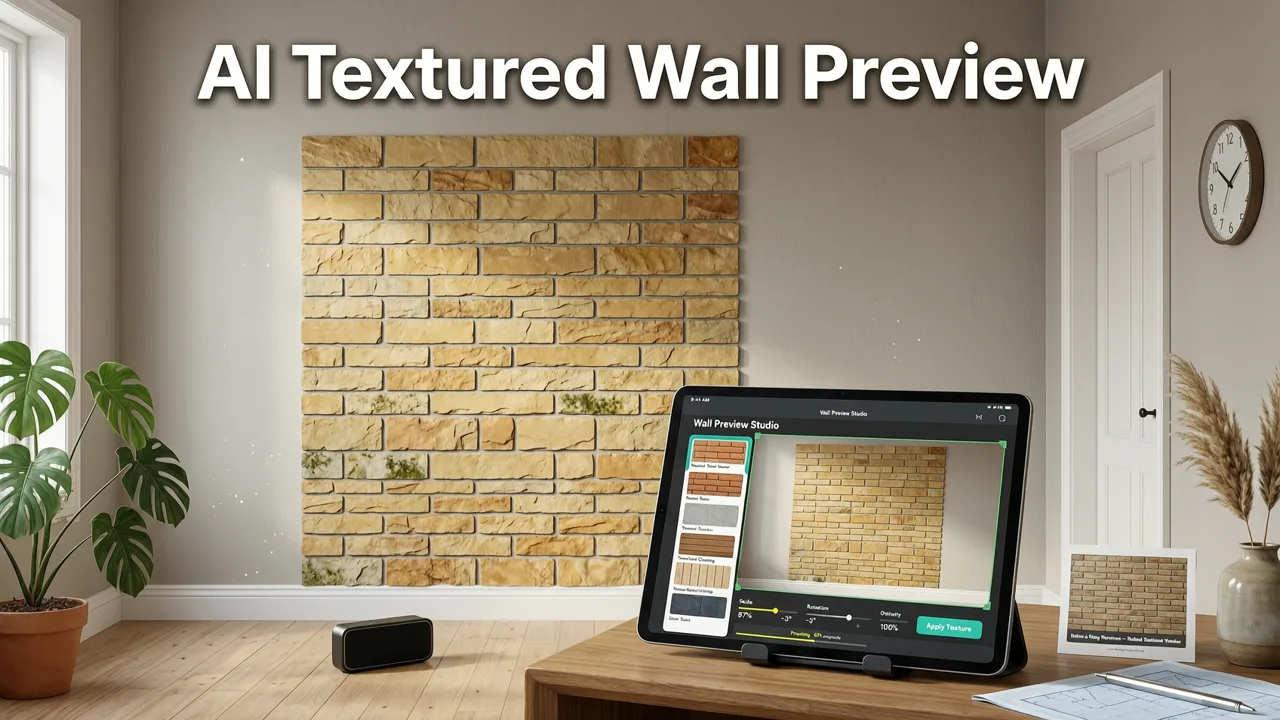
At its core, the tool performs three tasks in sequence: scene analysis, surface segmentation, and texture synthesis. First, the AI identifies walls, ceilings, floors, furniture, and architectural features in your uploaded photo. Next, it isolates the specific wall surfaces you want to change. Finally, it generates a new version of the image with your selected texture applied, preserving the original lighting, perspective, and proportions.
Unlike older wall visualization apps that simply overlay a flat image onto a rectangular mask, modern AI textured wall preview technology understands depth and occlusion. It accounts for the way light wraps around a textured surface, how shadows fall near corners and window frames, and how adjacent colors influence the perceived tone of the finish. This is why the previews feel genuinely photorealistic rather than pasted-on.
How the AI Interprets Your Room Photo
The AI begins by reading the spatial cues in your image: vanishing lines, shadow direction, color temperature, and surface reflectance. It then builds a lightweight depth map that tells the renderer which parts of the wall are closer to the camera and which recede. This depth information is what allows textures like exposed brick or 3D wall panels to appear convincing, with highlights on raised edges and soft shadows in recessed areas.
For best results, upload a photo taken in natural daylight with minimal flash, a straight-on perspective, and unobstructed wall surfaces. The tool works with any smartphone camera, and the processing typically completes in under ten seconds.
How to Use the AI Textured Wall Preview Tool Step by Step
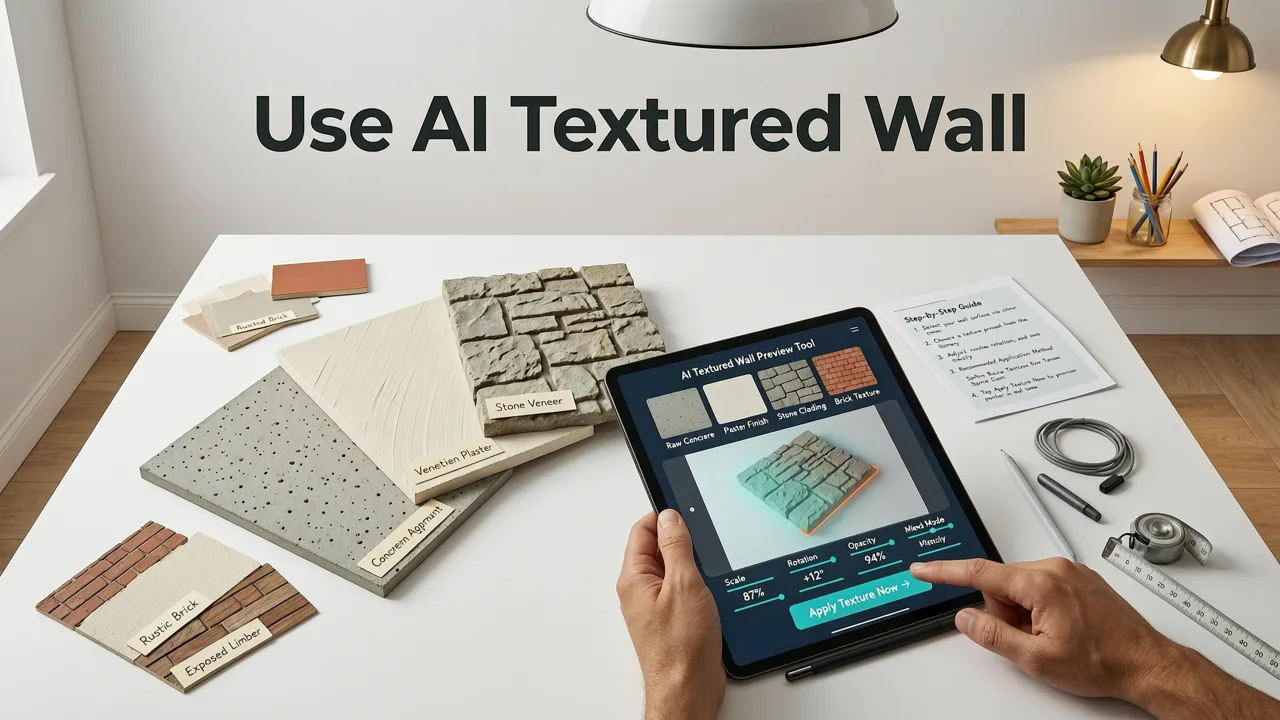
- Take a clear photo of the room or wall you want to redesign. Stand back to capture the full wall, and make sure lighting is even.
- Upload the image to the AI textured wall preview tool on your phone, tablet, or desktop browser.
- Select the wall surface you want to modify. The tool will auto-detect walls, but you can refine the selection if needed.
- Browse the texture library and choose a finish — from smooth limewash to rough stone veneer.
- Generate the preview and review the result. Save, share, or swap textures to compare options.
- Export or share your favorite version with your contractor, designer, or landlord.
The entire workflow takes less than a minute per texture, which means you can realistically test five to ten finishes in a single sitting. That speed is what makes the tool so valuable compared to ordering physical samples, which can take days or weeks to arrive.
Top Textured Wall Finishes to Preview with AI in 2026
Texture has become one of the defining trends in residential design this year. Homeowners want walls that feel tactile and layered, not flat and sterile. Below is a comparison of the most popular textured finishes you can preview, along with the rooms where each performs best.
| Texture Finish | Visual Character | Best Room | Lighting Preference |
|---|---|---|---|
| Limewash | Soft, cloudy, chalky depth | Living room, bedroom | Natural daylight |
| Venetian Plaster | Polished, marble-like sheen | Dining room, entryway | Warm ambient light |
| Microcement | Seamless, industrial matte | Bathroom, kitchen | Neutral or cool light |
| Exposed Brick | Rustic, warm, dimensional | Accent wall, loft | Mixed natural and warm |
| Wood Slat Paneling | Linear, architectural warmth | Living room, home office | Soft directional light |
| Stucco | Earthy, granular, Mediterranean | Exterior, sunroom | Bright sunlight |
| Tadelakt | Smooth, organic, soapstone feel | Bathroom, spa area | Diffused natural light |
| 3D Wall Panels | Geometric, sculptural, modern | Media room, bedroom | Directional accent lighting |
If you are specifically exploring textured paint options for your living area, our guide on the best textured paint for living room walls in 2026 breaks down which products deliver the most realistic depth and durability once you move from preview to application.
Why Texture Visualization Matters More Than Color Alone
Most wall visualization tools focus exclusively on color, but color is only half the story. A shade of warm terracotta will look dramatically different in flat matte, high-gloss, and rough limewash. Texture affects how light bounces off the surface, which in affect how the human eye perceives both hue and saturation. This is why a texture preview is essential before making a final decision.
The AI textured wall preview tool lets you hold color constant while swapping textures, or hold texture constant while testing different colorways within that texture. This two-dimensional exploration — color multiplied by finish — gives you a far more accurate sense of the final result than either variable alone.
Lighting and Texture: The Hidden Variable
Directional light emphasizes texture. A wall with deep ridges or raised patterns will cast more pronounced shadows when light hits it at an angle, making the texture appear more dramatic. Diffused or overhead light flattens the same surface, muting the effect. The AI accounts for the lighting conditions in your uploaded photo, so the preview reflects how the texture will actually look in your specific room, not in a generic showroom.
Who Benefits Most from an AI Textured Wall Preview Tool
Homeowners Planning a Renovation
If you are investing in a renovation, the cost of choosing the wrong finish — both in materials and labor — can be significant. An AI preview eliminates that risk by letting you see the exact result before any work begins. You can compare three or four texture options side by side, share them with family members, and make a confident decision in a single evening.
Renters Testing Bold Ideas
Renters often want to personalize their space without making permanent changes. Removable wallpaper with textured patterns, peel-and-stick 3D panels, and fabric wall hangings are all options you can preview first. The tool helps you determine whether a bold choice will complement your existing furniture or overwhelm the room.
Realtors Staging Listings
In a competitive market, staged homes sell faster. Realtors can use the AI textured wall preview tool to virtually refresh outdated walls in listing photos, giving potential buyers a vision of the home's potential without the cost of physical staging.
Interior Designers Presenting to Clients
Designers benefit from the speed and accuracy of AI previews when presenting mood boards and material palettes. Instead of showing clients a small swatch and asking them to imagine the full wall, you can show a photorealistic rendering of their actual room with the proposed finish. This reduces revision cycles and builds client confidence early in the process.
AI Textured Wall Preview vs. Traditional Methods
To understand why this tool has become the default for visualization in 2026, it helps to compare it against the alternatives designers and homeowners have relied on for years.
| Method | Time Required | Cost | Accuracy | Revisions |
|---|---|---|---|---|
| Physical paint samples | 3–7 days | $10–$50 per sample | Low (color only, no texture depth) | Costly and slow |
| 3D rendering software | Hours to days | $200–$2,000+ | High (requires skilled operator) | Expensive per revision |
| Designer consultation | 1–3 weeks | $150–$500 per session | High (subject to interpretation) | Billed hourly |
| AI textured wall preview tool | Under 1 minute | Free to low-cost | High (photorealistic, room-specific) | Unlimited, instant |
The AI textured wall preview tool does not replace a skilled designer for complex projects, but it dramatically reduces the time and cost of the exploratory phase. You arrive at your designer consultation with a clear sense of direction, which makes the entire process more efficient and more affordable.
Tips for Getting the Most Accurate AI Texture Previews
- Use natural light. Photos taken near a window on a clear day produce the most accurate previews because the AI can read the true color temperature and shadow direction.
- Avoid heavy flash. Flash creates harsh highlights and flat shadows that confuse the depth-mapping algorithm.
- Shoot straight on. A perspective that is as perpendicular to the wall as possible gives the AI the cleanest geometry to work with.
- Clear the wall. Remove or minimize clutter, artwork, and furniture that partially blocks the wall surface. The more unobstructed wall the AI can see, the better the texture mapping.
- Upload in high resolution. Higher-resolution images give the renderer more detail to work with, especially for fine-grained textures like limewash or microcement.
- Test multiple textures. The speed of the tool means there is no reason to settle on the first option. Cycle through at least three to five textures before deciding.
Extending Your Preview Beyond Interior Walls
The same AI technology that previews interior wall textures can also visualize exterior finishes, garden walls, and facade materials. If you are planning an exterior renovation, the tool can show you how stucco, stone veneer, or rendered concrete will look on your actual home. Our guide on how to visualize a house exterior remodel before renovating in 2026 walks through the specific workflow for outdoor surfaces, including tips for handling varying sunlight conditions across different times of day.
Similarly, if you are exploring how wall color interacts with texture, the white wall paint AI visualization tool lets you test how different white shades affect the perceived warmth and depth of textured surfaces — a critical consideration for minimalist and Japandi-style interiors that rely on subtle tonal variation.
Common Mistakes to Avoid When Previewing Textured Walls
Choosing Texture Without Considering Scale
A heavily textured finish like rough stone or deep 3D panels can overwhelm a small room. Use the AI preview to see how the texture reads at the scale of your actual wall before committing. For compact spaces, our guide on the best white paint for small rooms in 2026 offers complementary strategies for keeping the space feeling open even with textured surfaces.
Ignoring Adjacent Surfaces
Wall texture does not exist in isolation. It interacts with flooring, cabinetry, textiles, and furnishings. When previewing, make sure your photo captures enough of the room to see how the texture relates to these adjacent elements. A warm limewash wall may look stunning in isolation but clash with cool-toned tile flooring visible in the same frame.
Overlooking Maintenance Implications
Some textures, particularly those with deep grooves or porous surfaces, require more maintenance than smooth finishes. The AI preview helps you see the texture realistically, but you should also research the cleaning and upkeep requirements of each finish before finalizing your choice.
The Technology Behind the Tool in 2026
Modern AI textured wall preview tools are built on large-scale vision models trained on millions of interior and exterior photographs. These models understand the physics of light, the geometry of rooms, and the material properties of hundreds of surface finishes. The result is a system that can take a single flat photograph and produce a convincing simulation of how a new texture will look in that exact space.
The underlying models continue to improve through 2026, with each generation producing more accurate shadow rendering, finer texture detail, and better handling of complex surfaces like curved walls and angled ceilings. For those interested in the broader trajectory of AI in design, the Google AI responsibility principles offer a useful framework for understanding how these tools are developed with user trust and accuracy in mind.
Frequently Asked Questions
Is the AI textured wall preview tool free to use?
Yes. You can upload a room photo and generate textured wall previews at no cost. Premium features such as higher-resolution exports, additional texture libraries, and batch comparisons may require a subscription, but the core preview functionality is accessible to all users.
How accurate are the AI texture previews?
The previews are photorealistic and account for the lighting, perspective, and proportions in your uploaded photo. While they are not a substitute for viewing a physical sample in person, they provide a significantly more accurate representation than flat color swatches or generic mood board images.
Can I preview textures on exterior walls?
Yes. The tool supports both interior and exterior surfaces. Upload a photo of your home's facade, garden wall, or outdoor living area, and the AI will apply the selected texture with accurate lighting and depth.
What photo quality do I need for the best results?
Use a high-resolution photo taken in natural daylight with a straight-on perspective. Avoid heavy flash, extreme wide-angle distortion, and partially obscured walls. The clearer and more direct your photo, the more accurate the texture preview will be.
Can I use the tool for commercial projects?
Absolutely. Interior designers, architects, realtors, and commercial stagers use the tool to visualize finishes for offices, retail spaces, hospitality venues, and multi-family residences. The speed and accuracy of AI previews make it especially valuable for client presentations and design approvals.
Start Visualizing Your Textured Walls Today
The gap between imagining a textured wall and actually seeing it in your space has never been smaller. With an AI textured wall preview tool, you can test dozens of finishes in minutes, compare them side by side, and make a confident decision — all from your phone or laptop. Upload your first room photo now, explore the texture library, and see your walls reimagined in seconds. Your perfect finish is only one upload away.